Smart Mirror
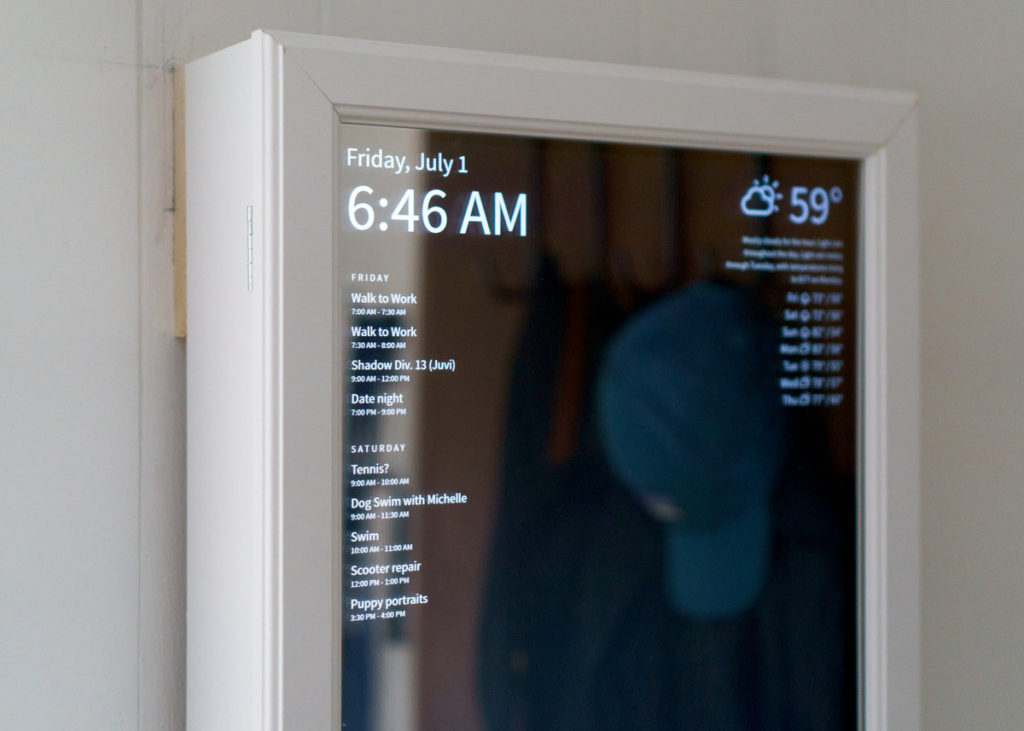
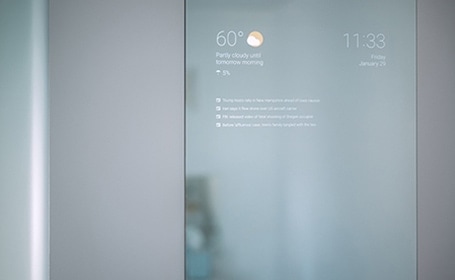
Do you want a way to enliven your average mirror to where it has the same functionality as a smartphone? The smart mirror is a two way mirror that can display information behind a regular mirror, such as the time, weather, and news.
| Engineer | School | Area of Interest | Grade |
|---|---|---|---|
| Stanley Shen | Archbishop Mitty High School | Computer Programming | Incoming Junior |
First Milestone
The smart mirror is mainly composed of a raspberry pi, monitor, and mirror. My final milestone was to set up the raspberry pi and get the display of the smart mirror working. In order to do this, I had to first connect the rapsberry pi to the monitor using an HTMI cable. After connecting the raspberry pi to the monitor, I installed a few modules using terminal in the rapberry pi. However, during the process, I encountered several issues, including syntax errors and parsing errors. Even tough I ran into these issues, I was finally able to get the display working on the raspberry pi.
Second Milestone
The next milestone I set for myself was to start building the frame of the mirror. The material I chose for the frame was wood. This is because I thought that it would look nicer and be more durable than some other materials. I used a woodcutting machine that I had at our house to cut the different pieces of wood. I made 45 degree cuts on the wood in order to make the front of the frame of the mirror. I was able to cut the wood with no problem, and I used wood glue to glue the piece of wood together.
Third Milestone
My third and final milestone was attaching the monitor and raspberry pi to the back of the mirror. Since I had to attach the monitor and raspberry pi to the back of the mirror, I had to consider the thickness of both of them and make the thickness of the mirror based on that. Luckily for me, the monitor and raspberry pi were both the same thickness, so I used a slab of wood to keep both the monitor and raspberry pi in place. An issue I encountered while attaching the monitor and raspberry pi to the back of the mirror was that the wires were too long and too messy. To resolve that, I got rid of the longer cable and added several shorter and more convenient cables. After finishing that, I wanted to add a modification to the smart mirror and add a voice control module. Since I had a usb microphone plugged into the raspberry pi and a speaker in the monitor, I hoped to have a voice control module where I could talk to the mirror and it would respond. After doing some work following the google assistant tutorial, I was able to talk to the mirror, but I would have to hold down a key on my keyboard in order to do that. I’m hoping that in the future, I would be able to incorporate it into the smart mirror to the point where I don’t need a keyboard for the voice control to work.
Materials
- raspberry pi
- monitor
- two way mirror
- frame for mirror
- HDMI cable
- usb keyboard and mouse